| Header 1 |
|---|
What it is and what it is not :
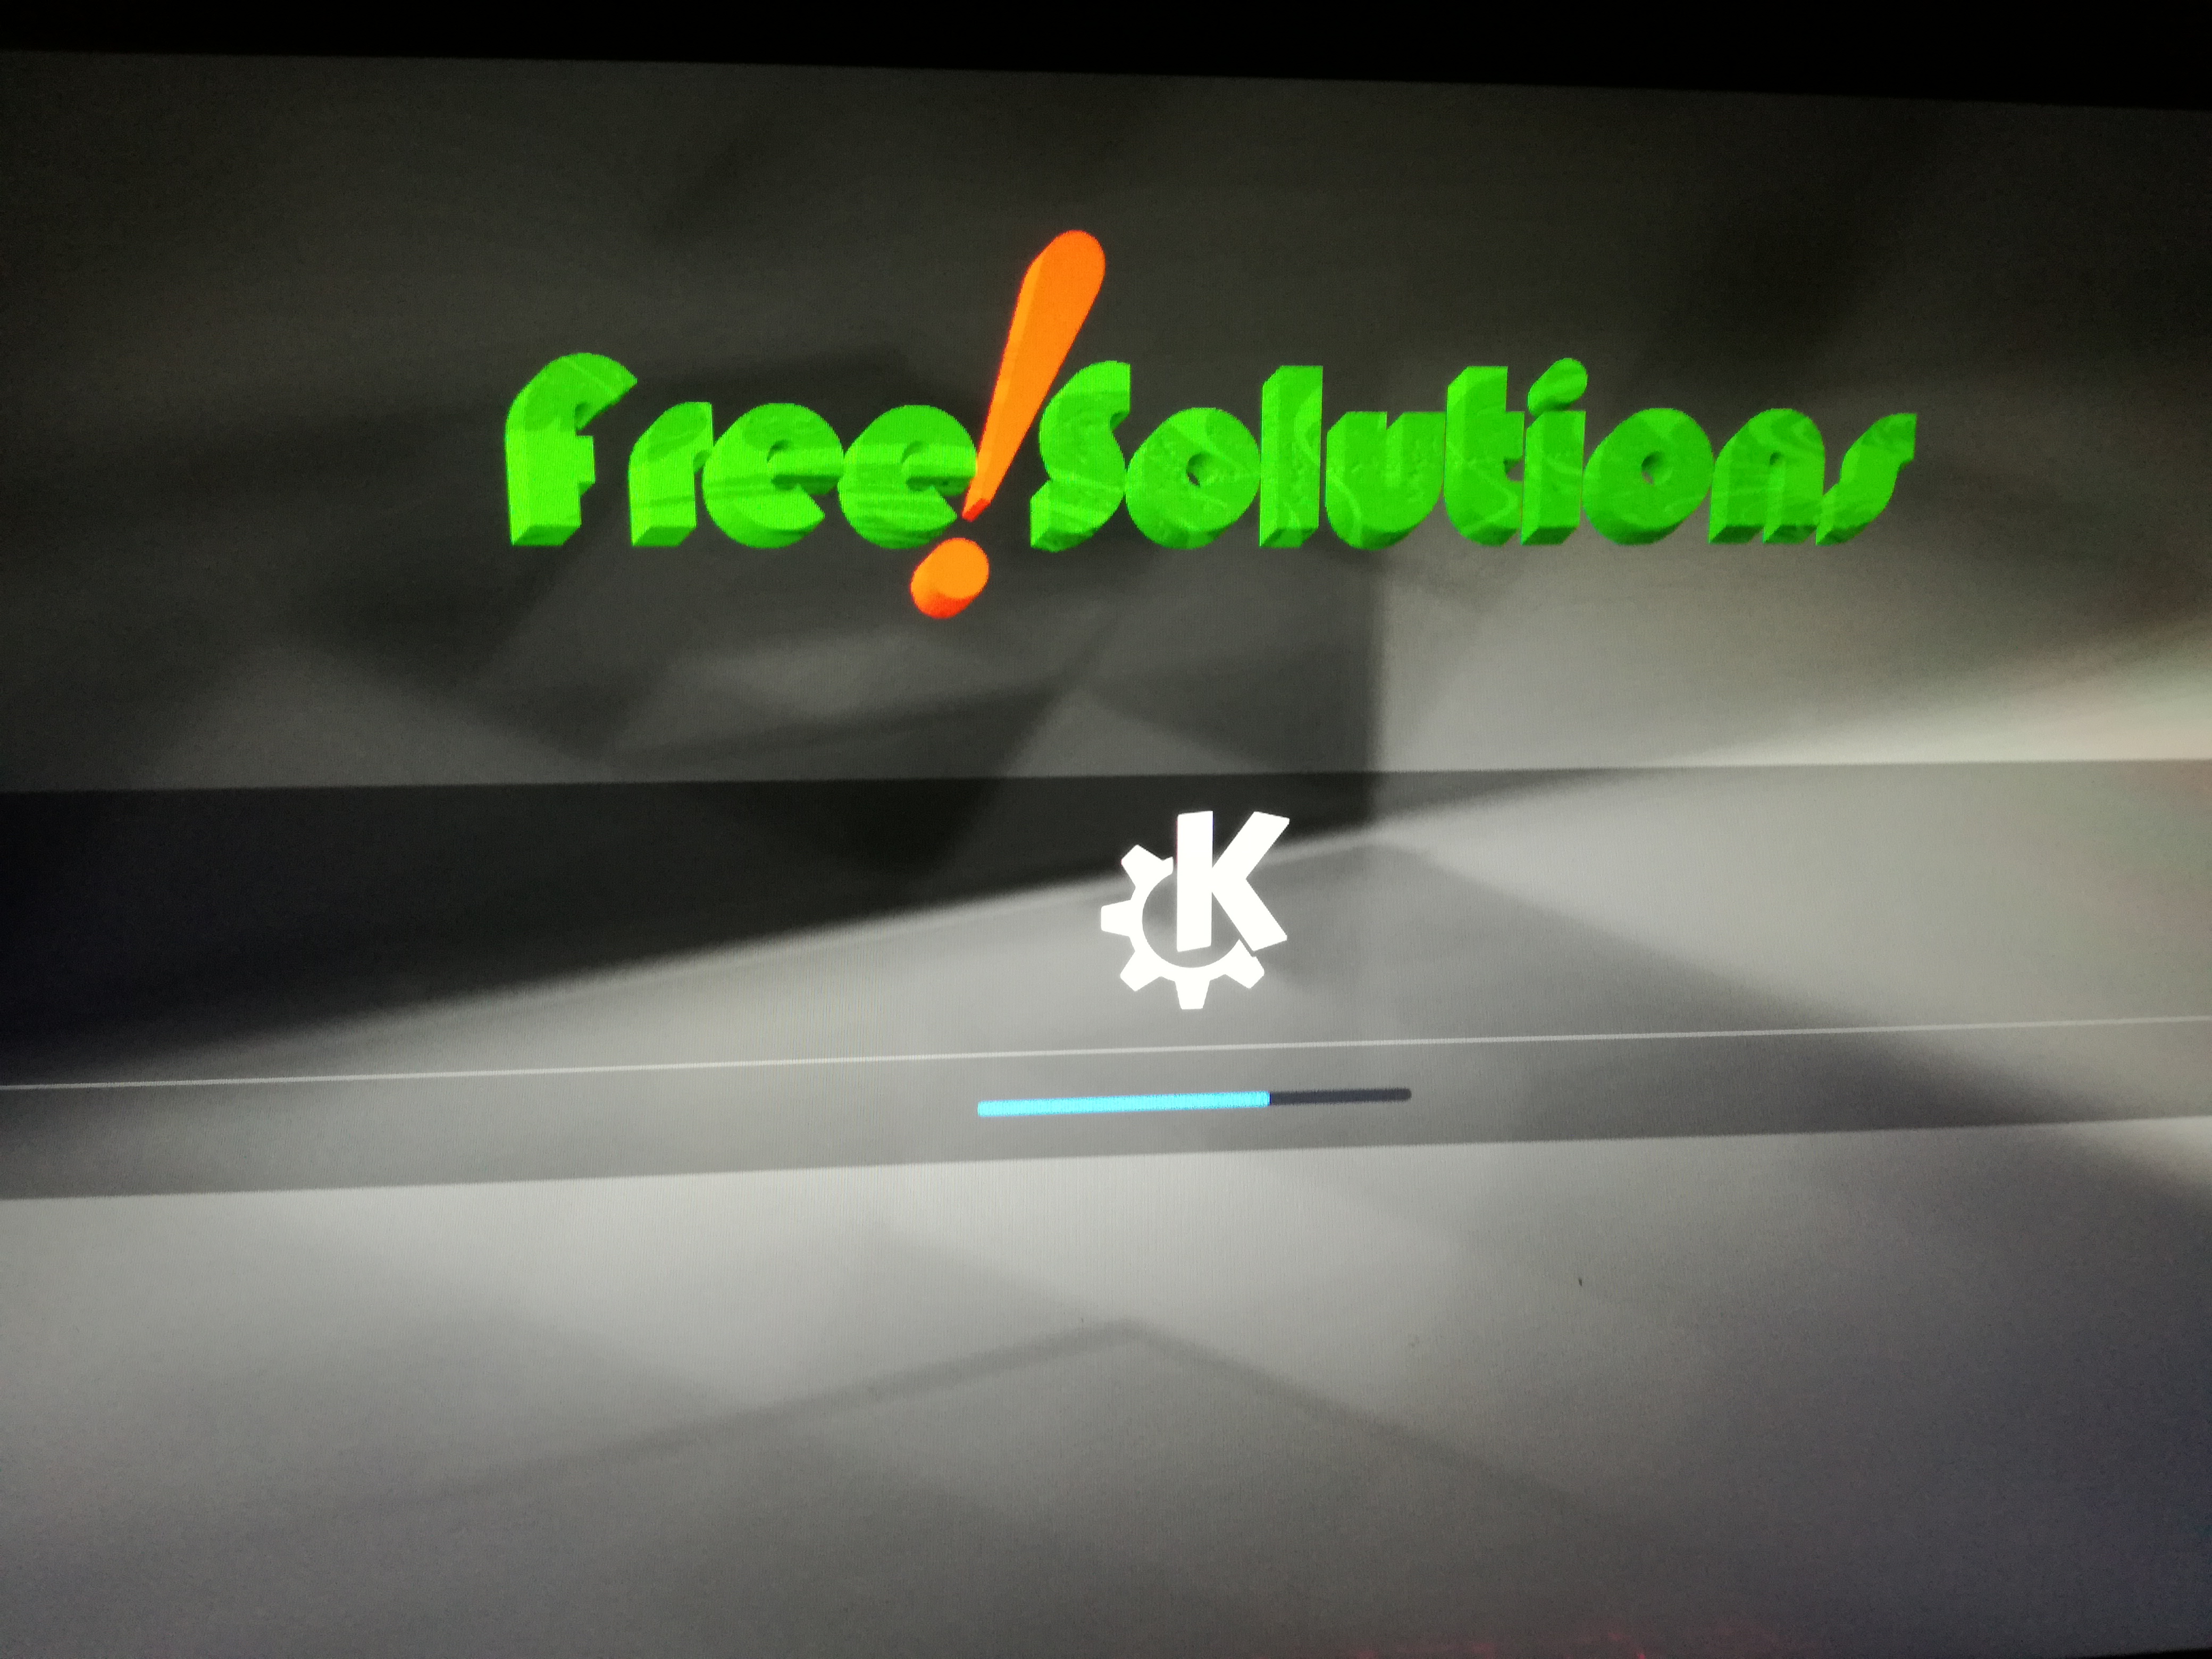
Green Spider is the release name of Free-Solutions OS. It is pure GPL/GNU Linux based on Debian- Ubuntu/Kubuntu. Works in most PC & Mac Hardware
So usual GPL licence and restrictions applies for the key and its entire content.
Green Spider is not a Brand, just a release name that associate an animal with a color. Green Spider make sense as this first key enable great
recycling for Old Hardwares, so a green way to surf the web.
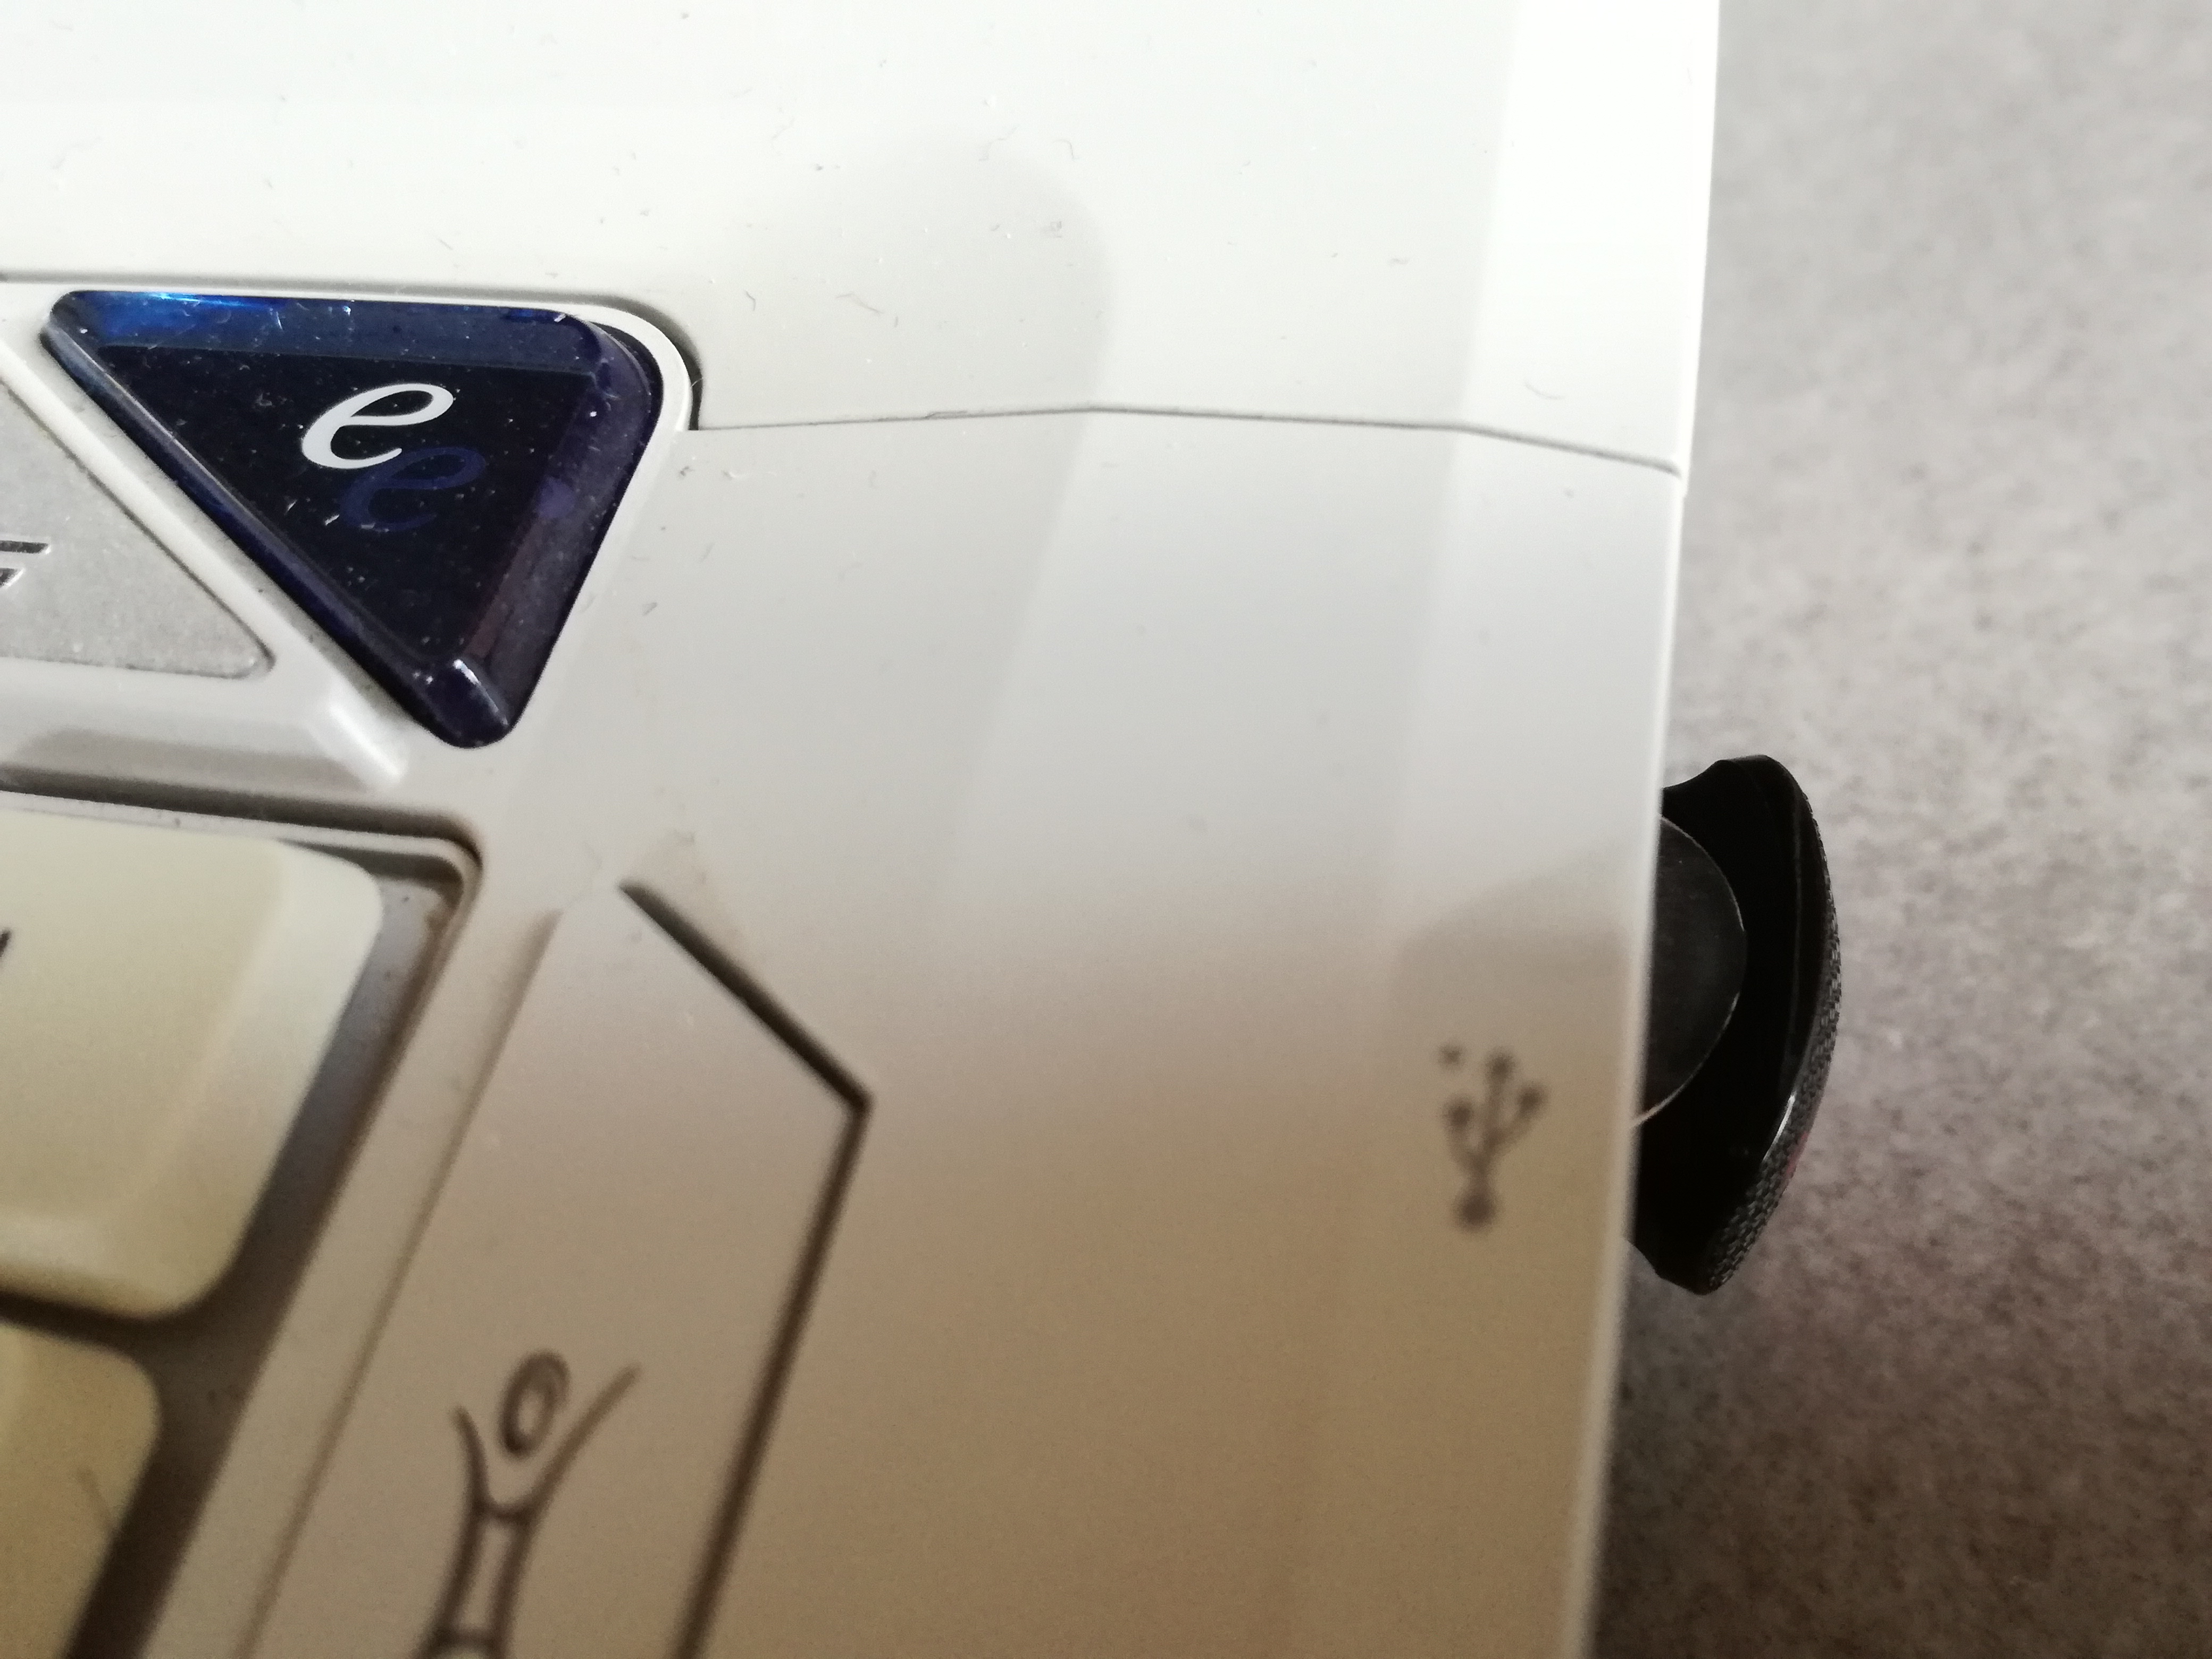
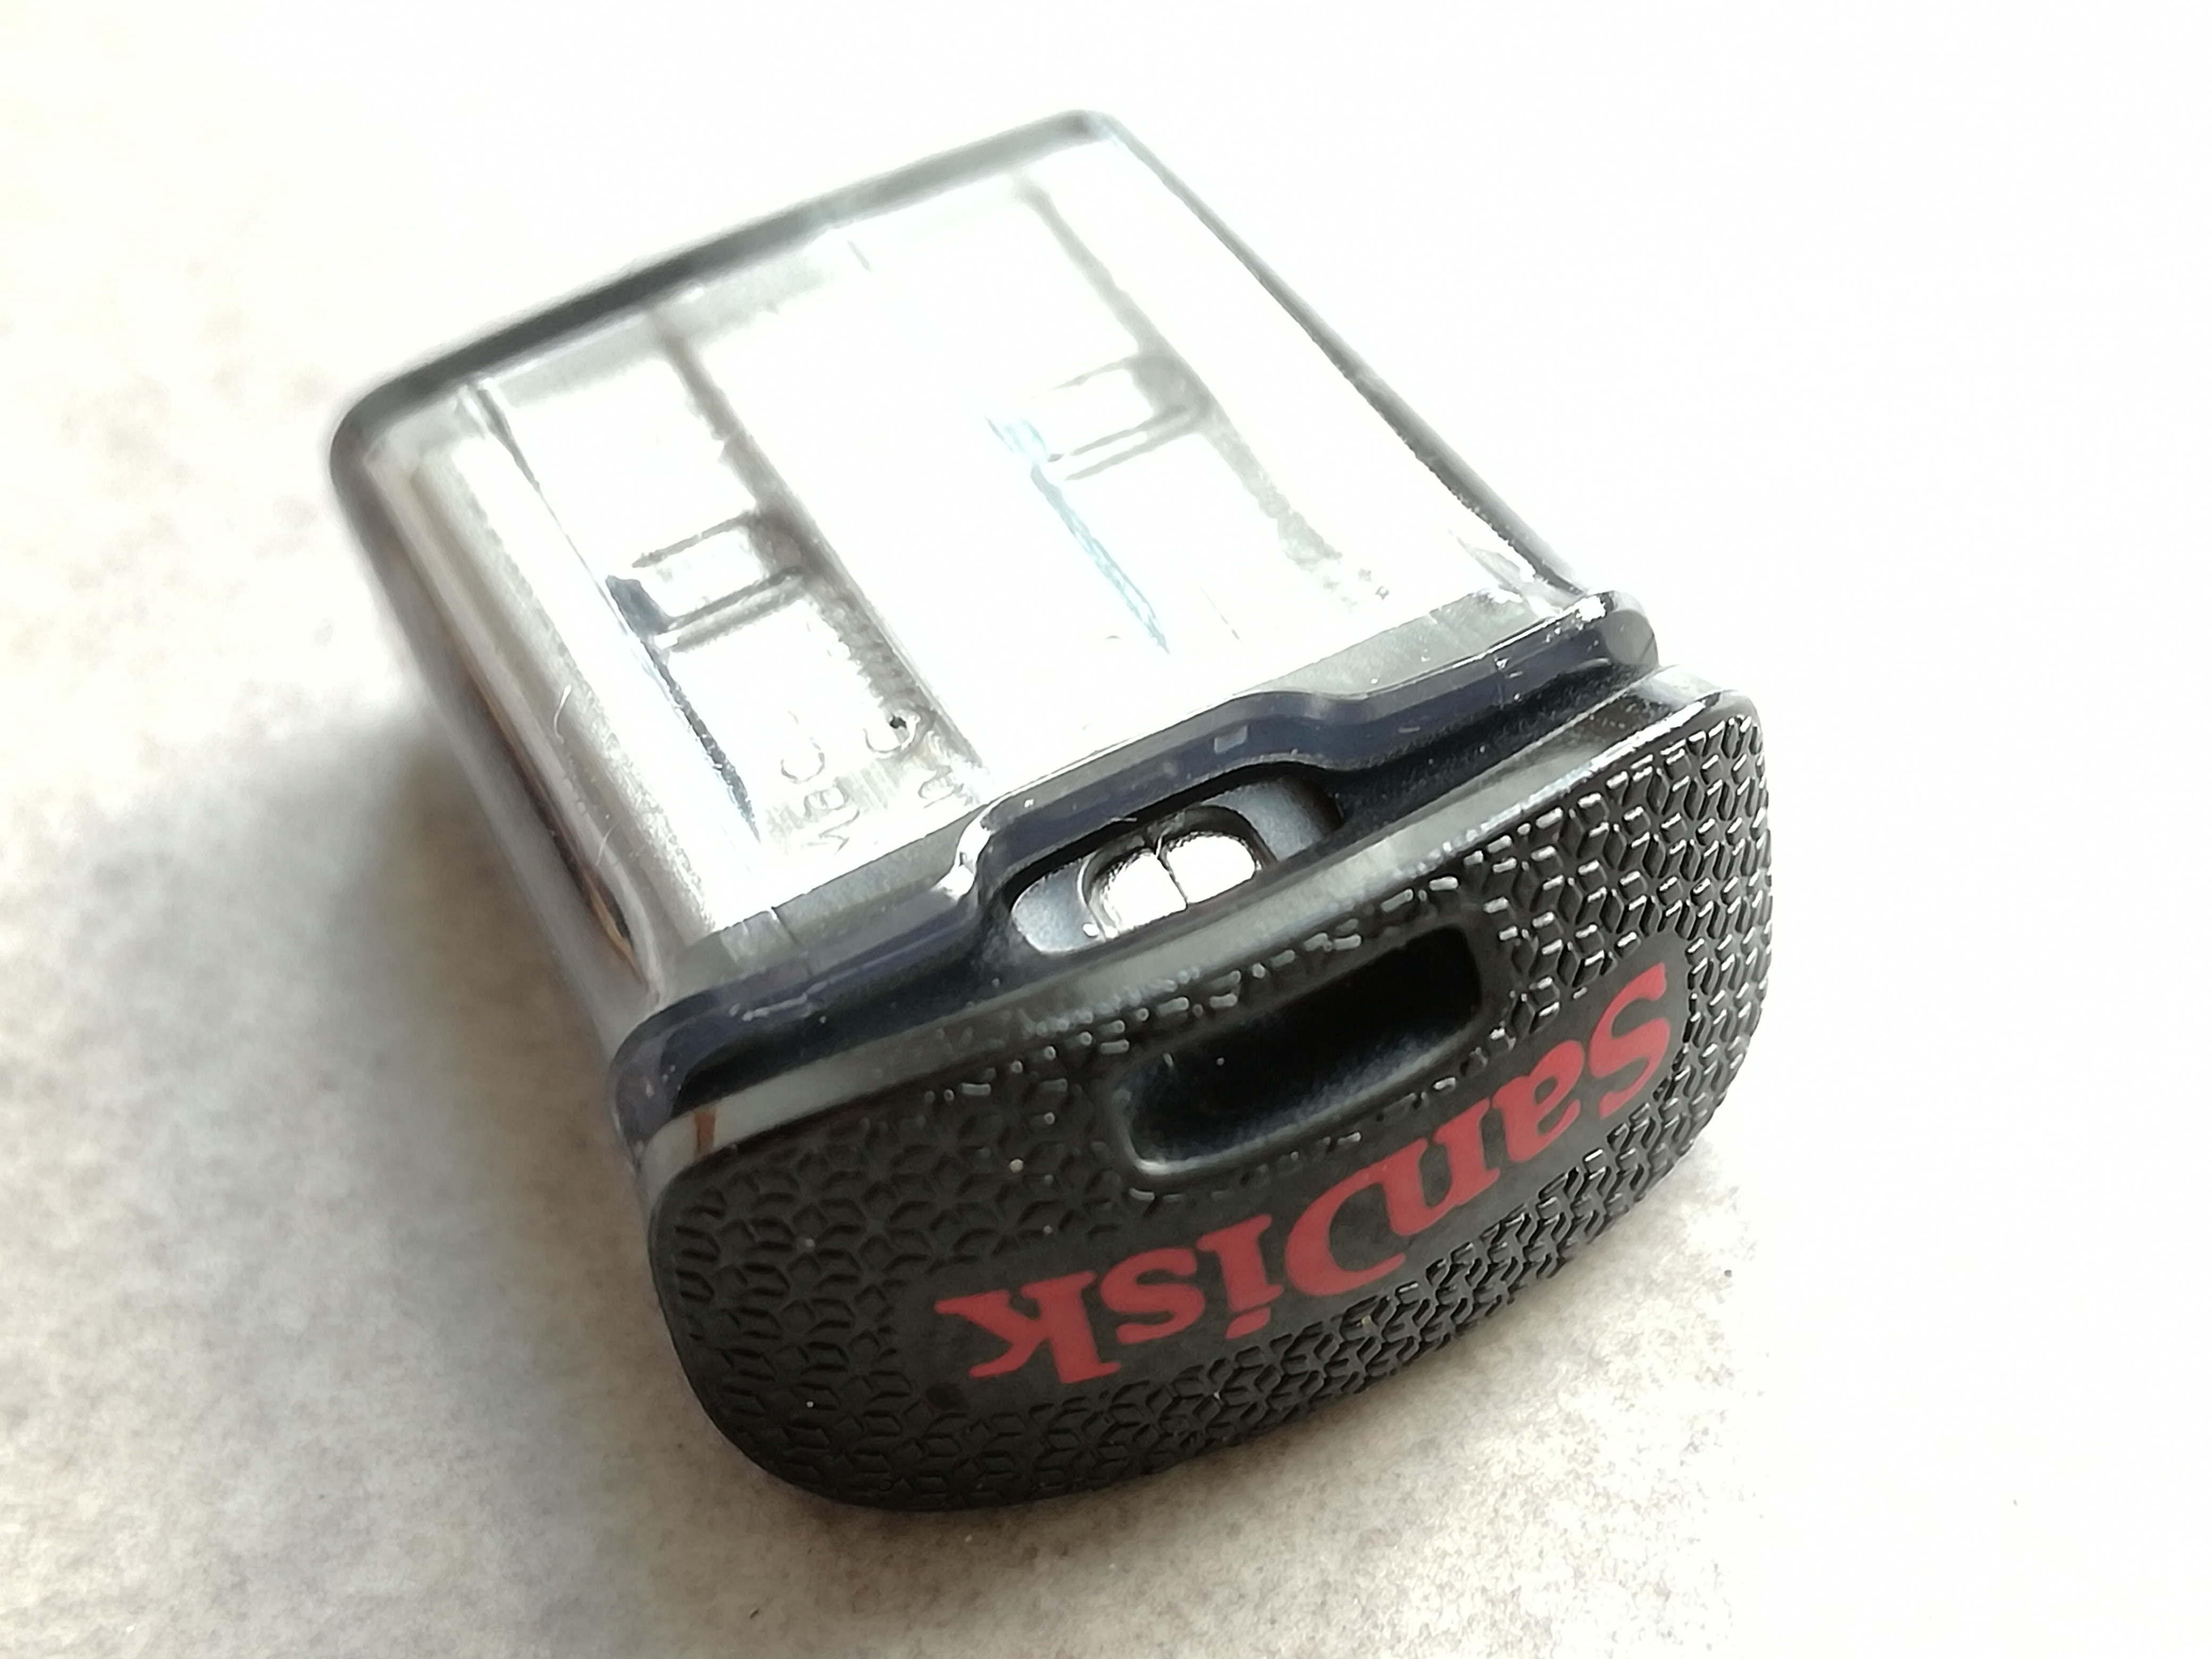
It is a full OS running into a USB Key. In other words your entire PC is within the Key and can run on any hardware. Free-Solutions is selling and delivering the pre-configured and ready to use USB-KEY
NEVER - NEVER Unplug the key while running. Ensure PC is powered down before retrieving your key even if you do a force shutdown.
If you have any problem, do a hard reboot before removing the key
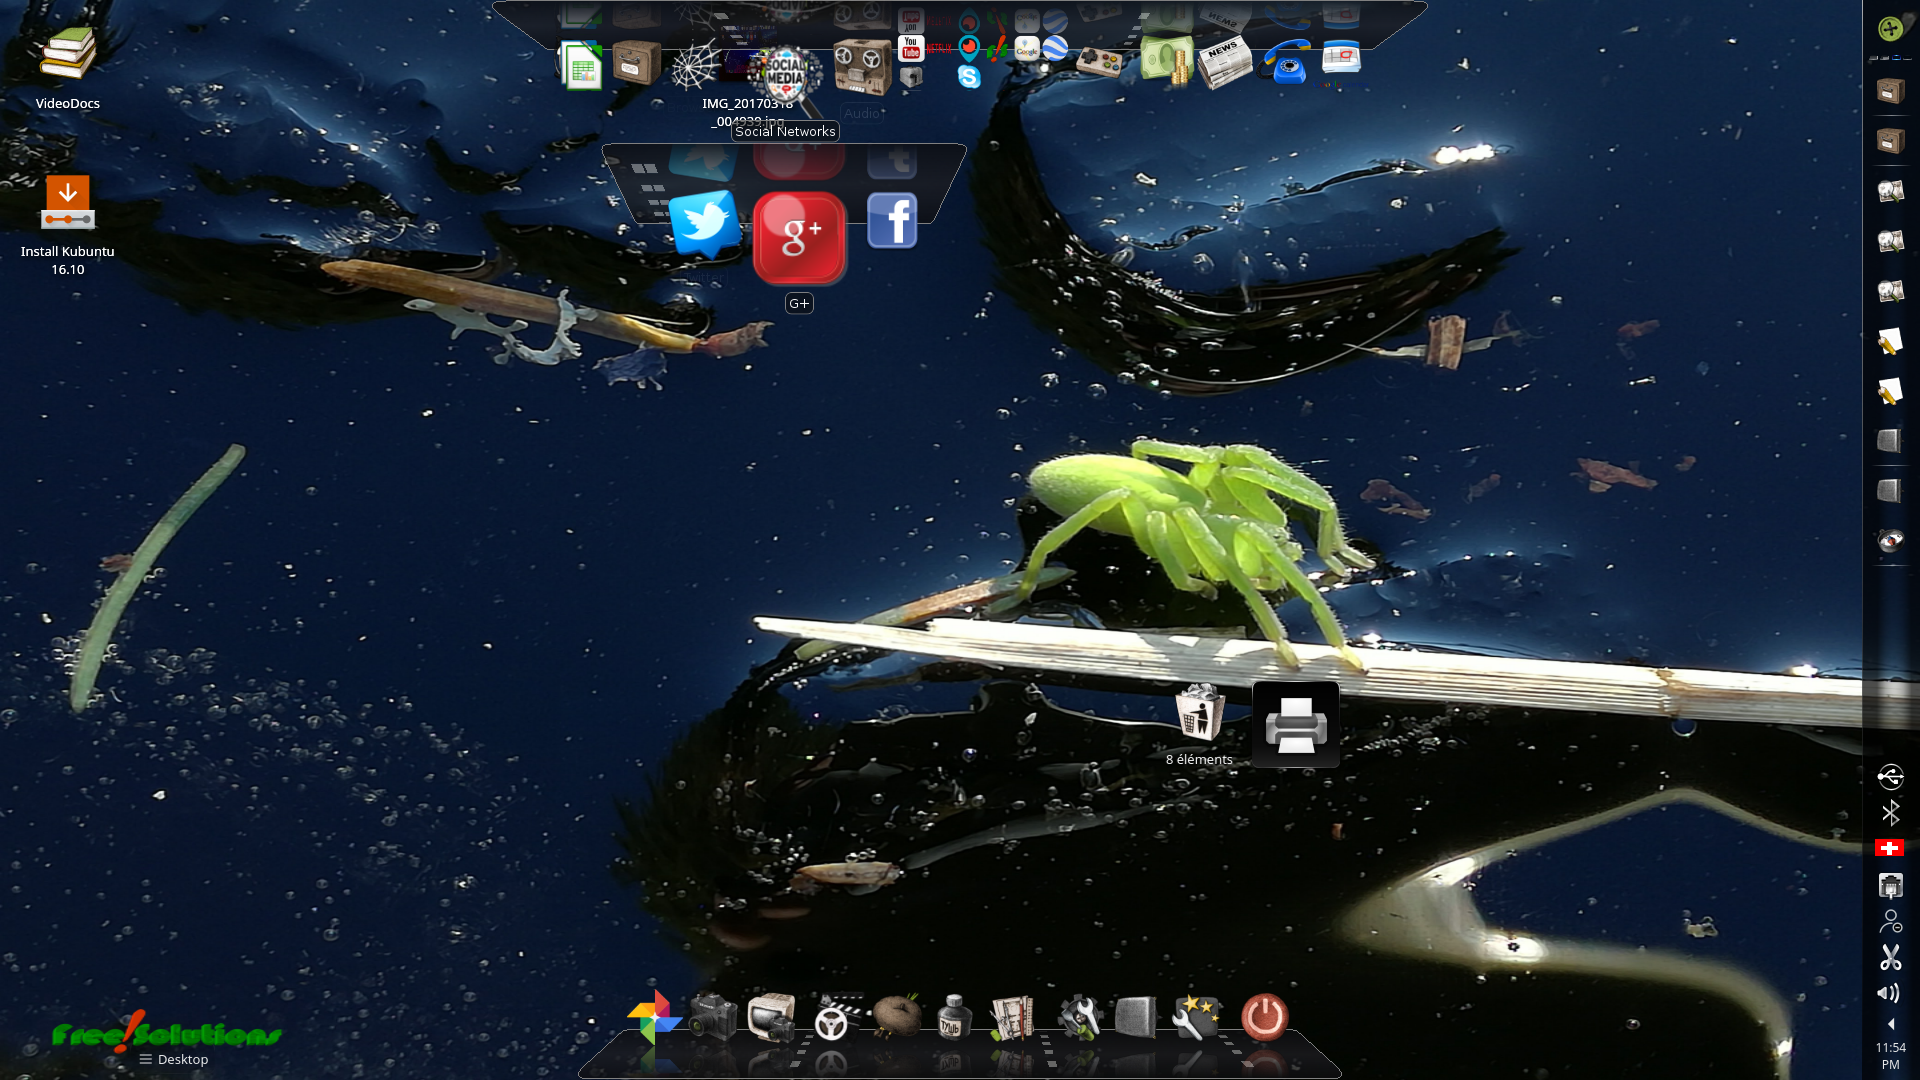
Preconfigured application list
| Sandisk Ultra Fit | HP DV6 Touch Screen |
|---|---|
 |  |
Boot sequence
1-Boot from USB Check and find correct key to press at boot
Make sure you are booting on USB, check BIOS if necessary
Check this document / USB Boot howto See table at the end of this document :
| Start your Boot menu(check boot howto) | Choose USB device too boot on |
|---|---|
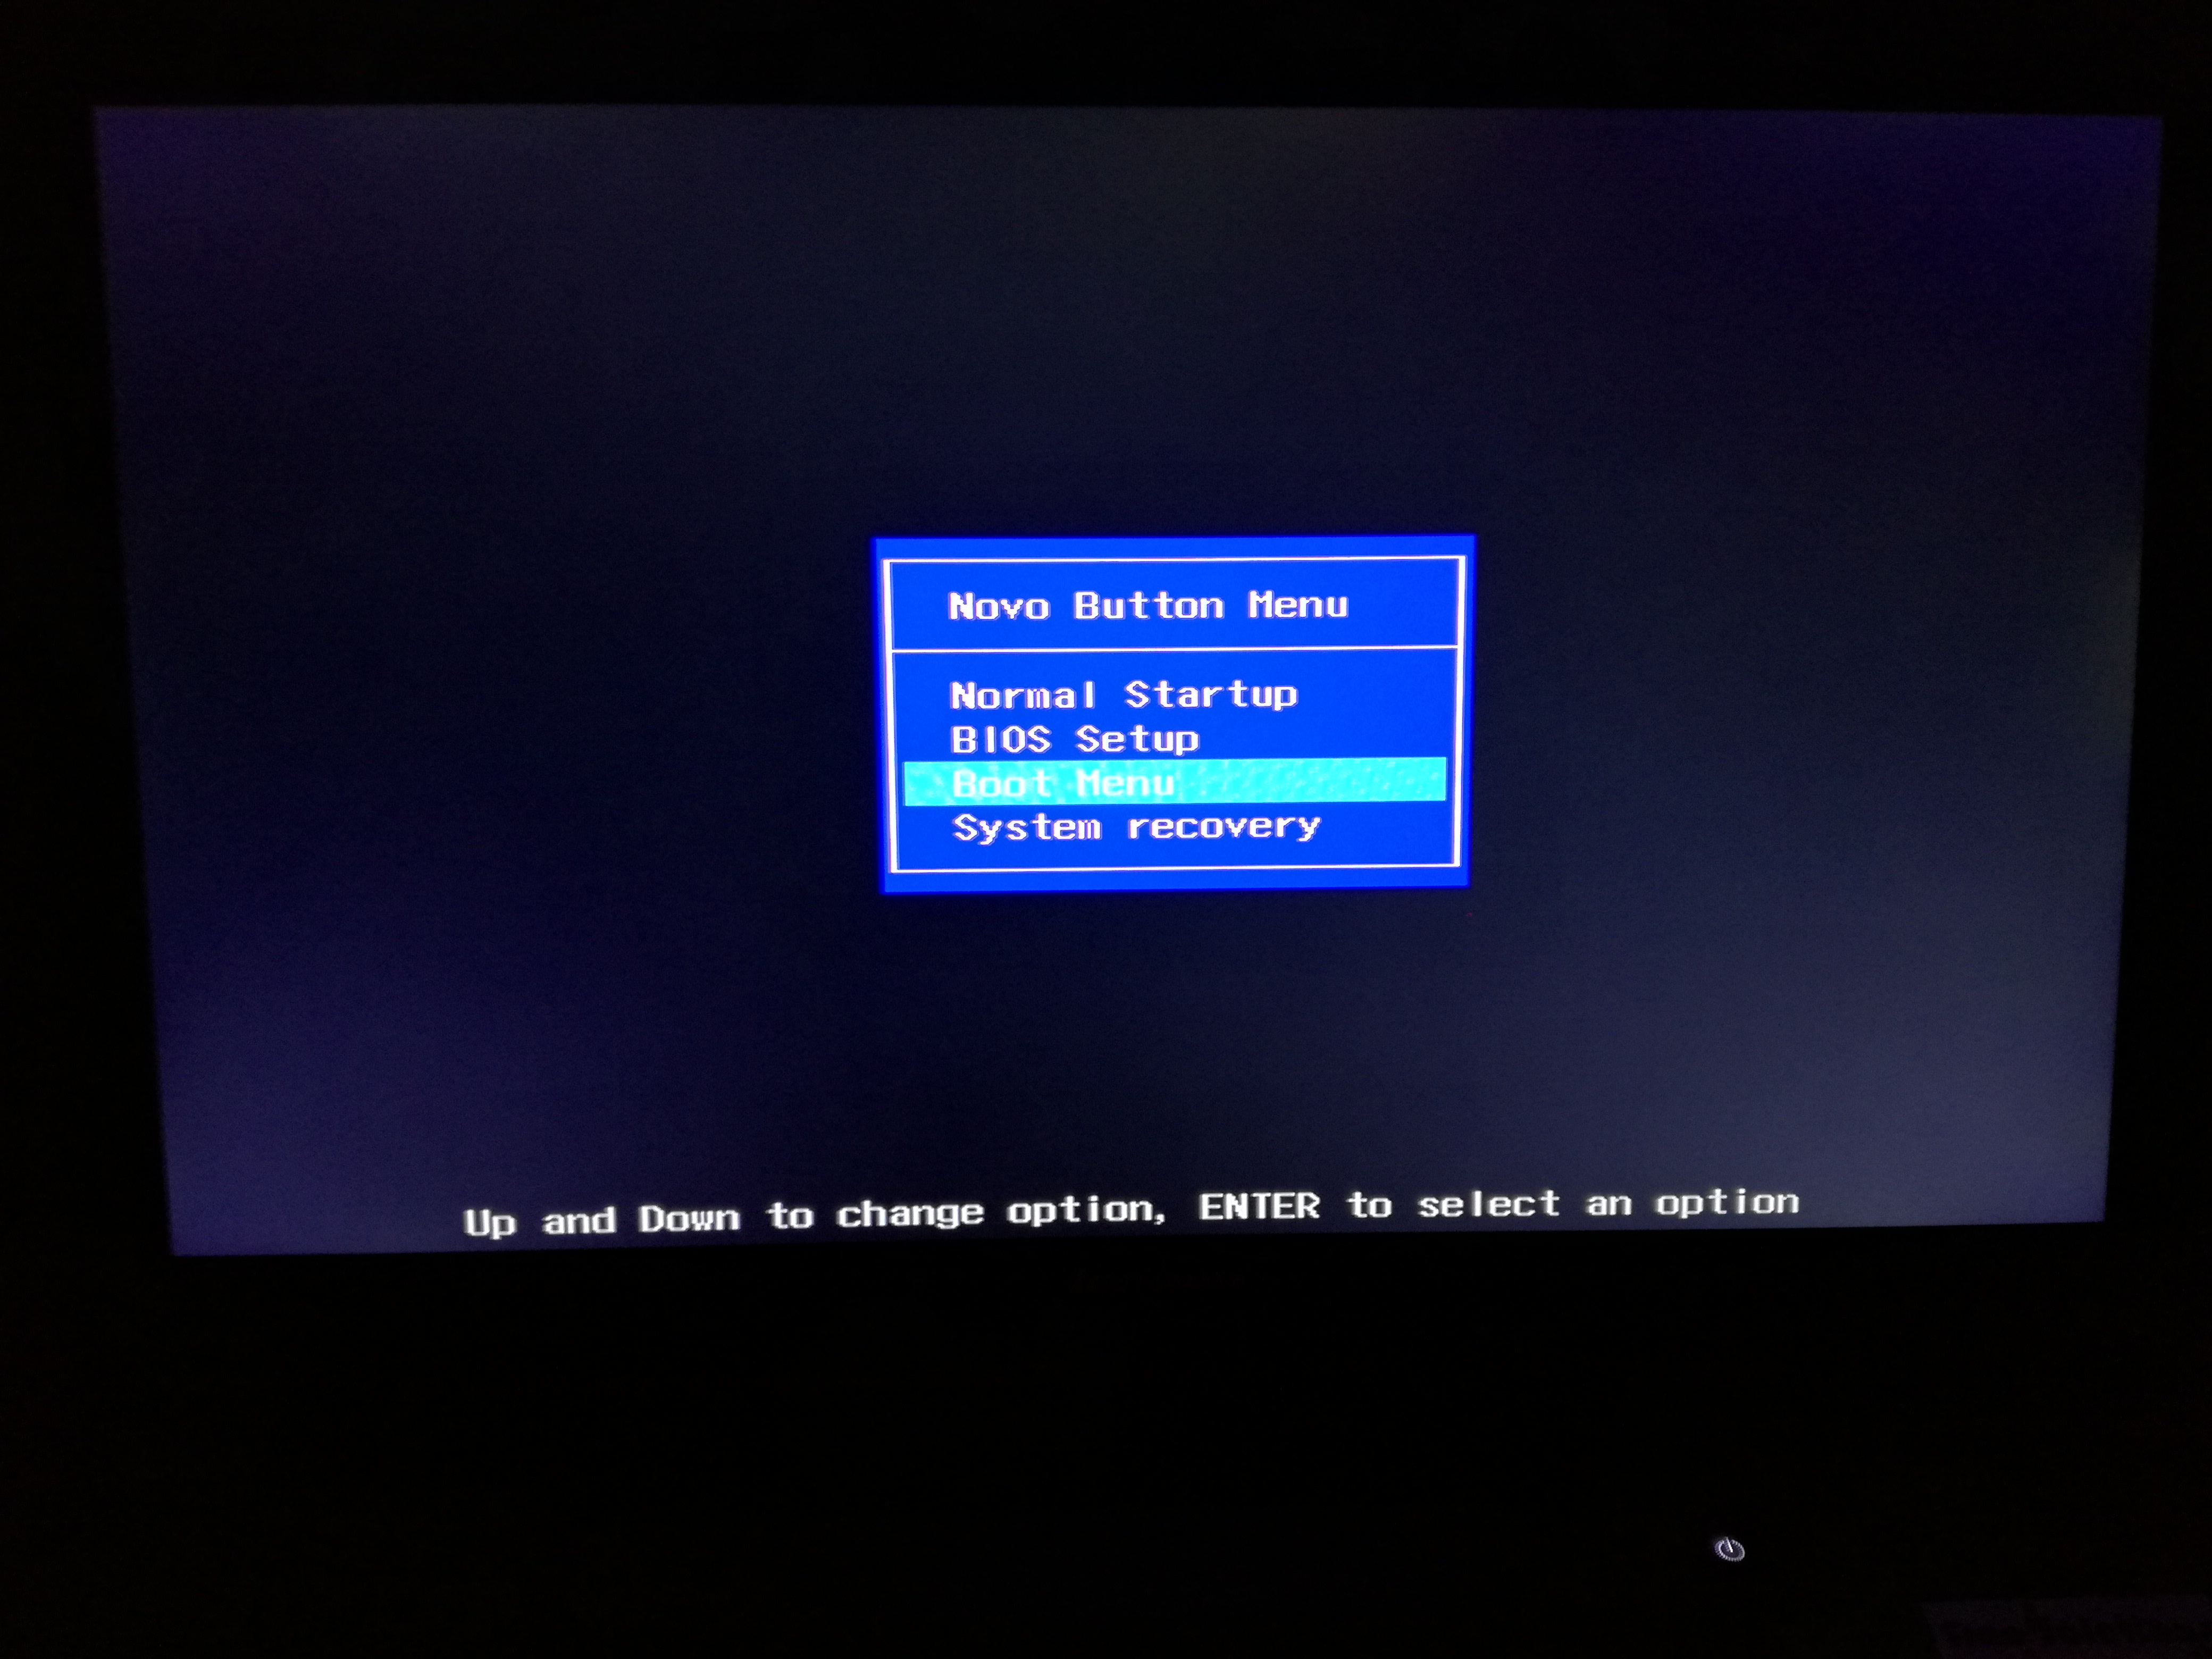
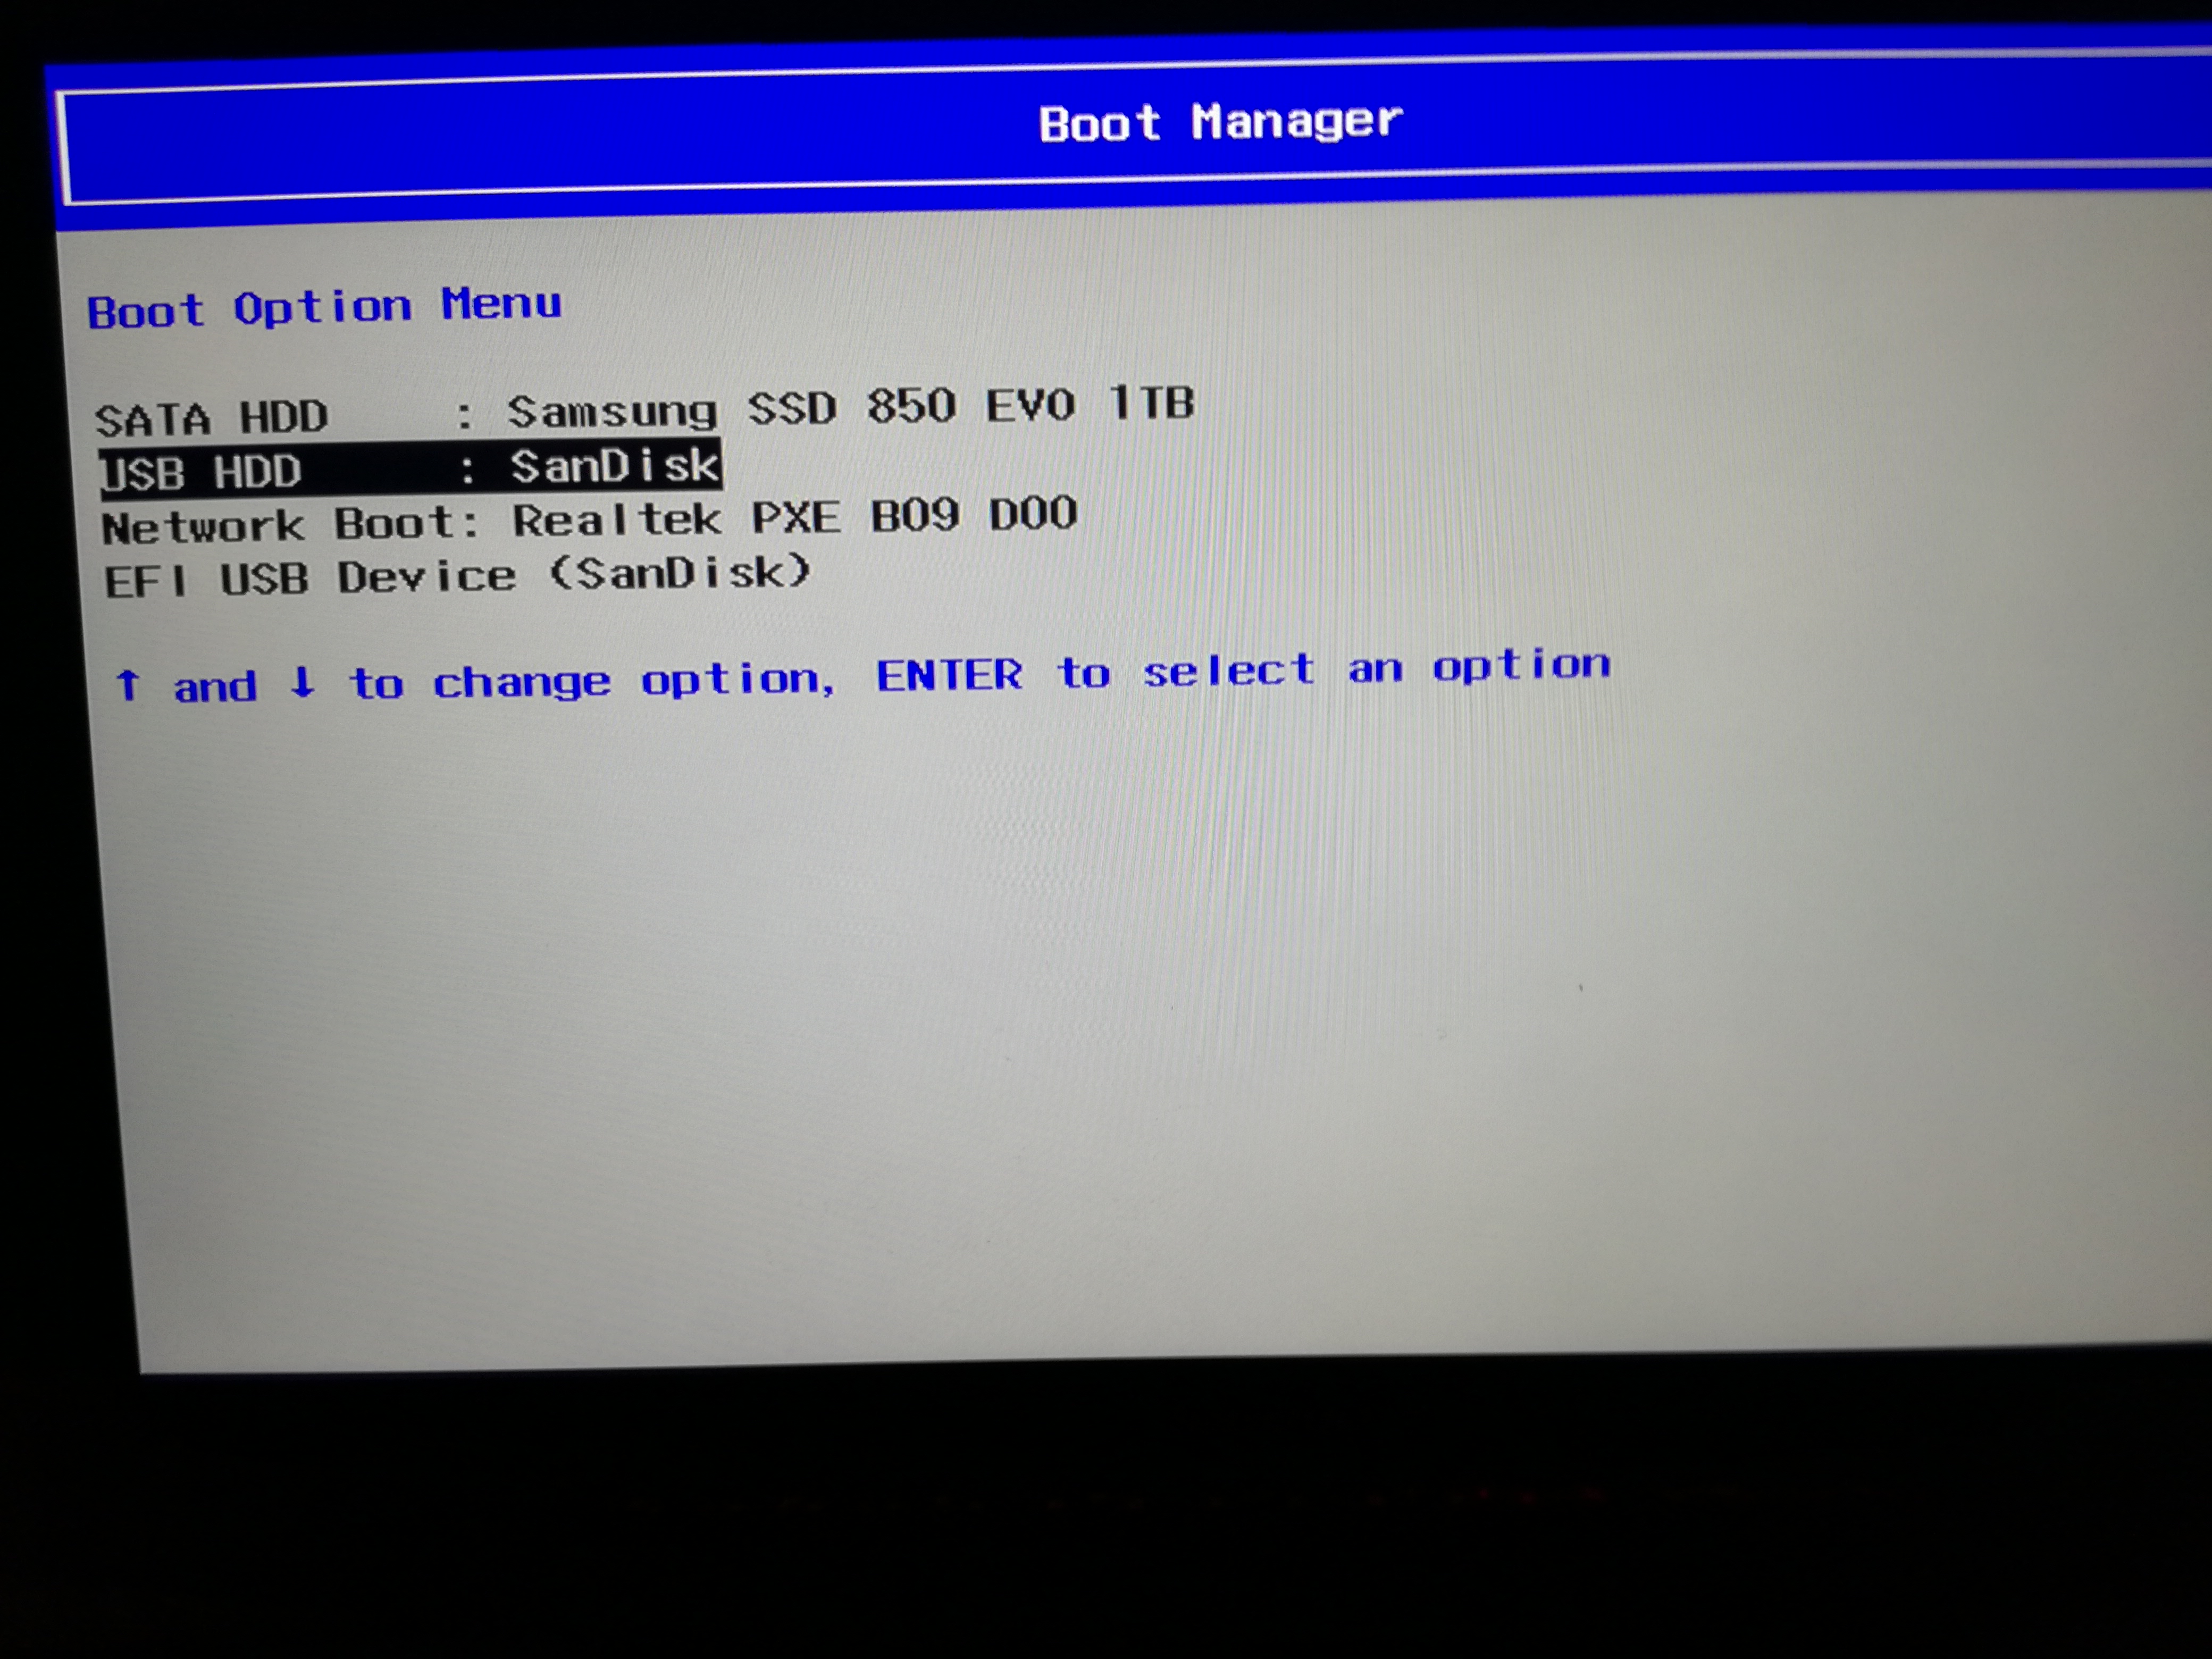
If you start on USB, you get into the following menu :
| Kubuntu Boot menu, use default |
|---|
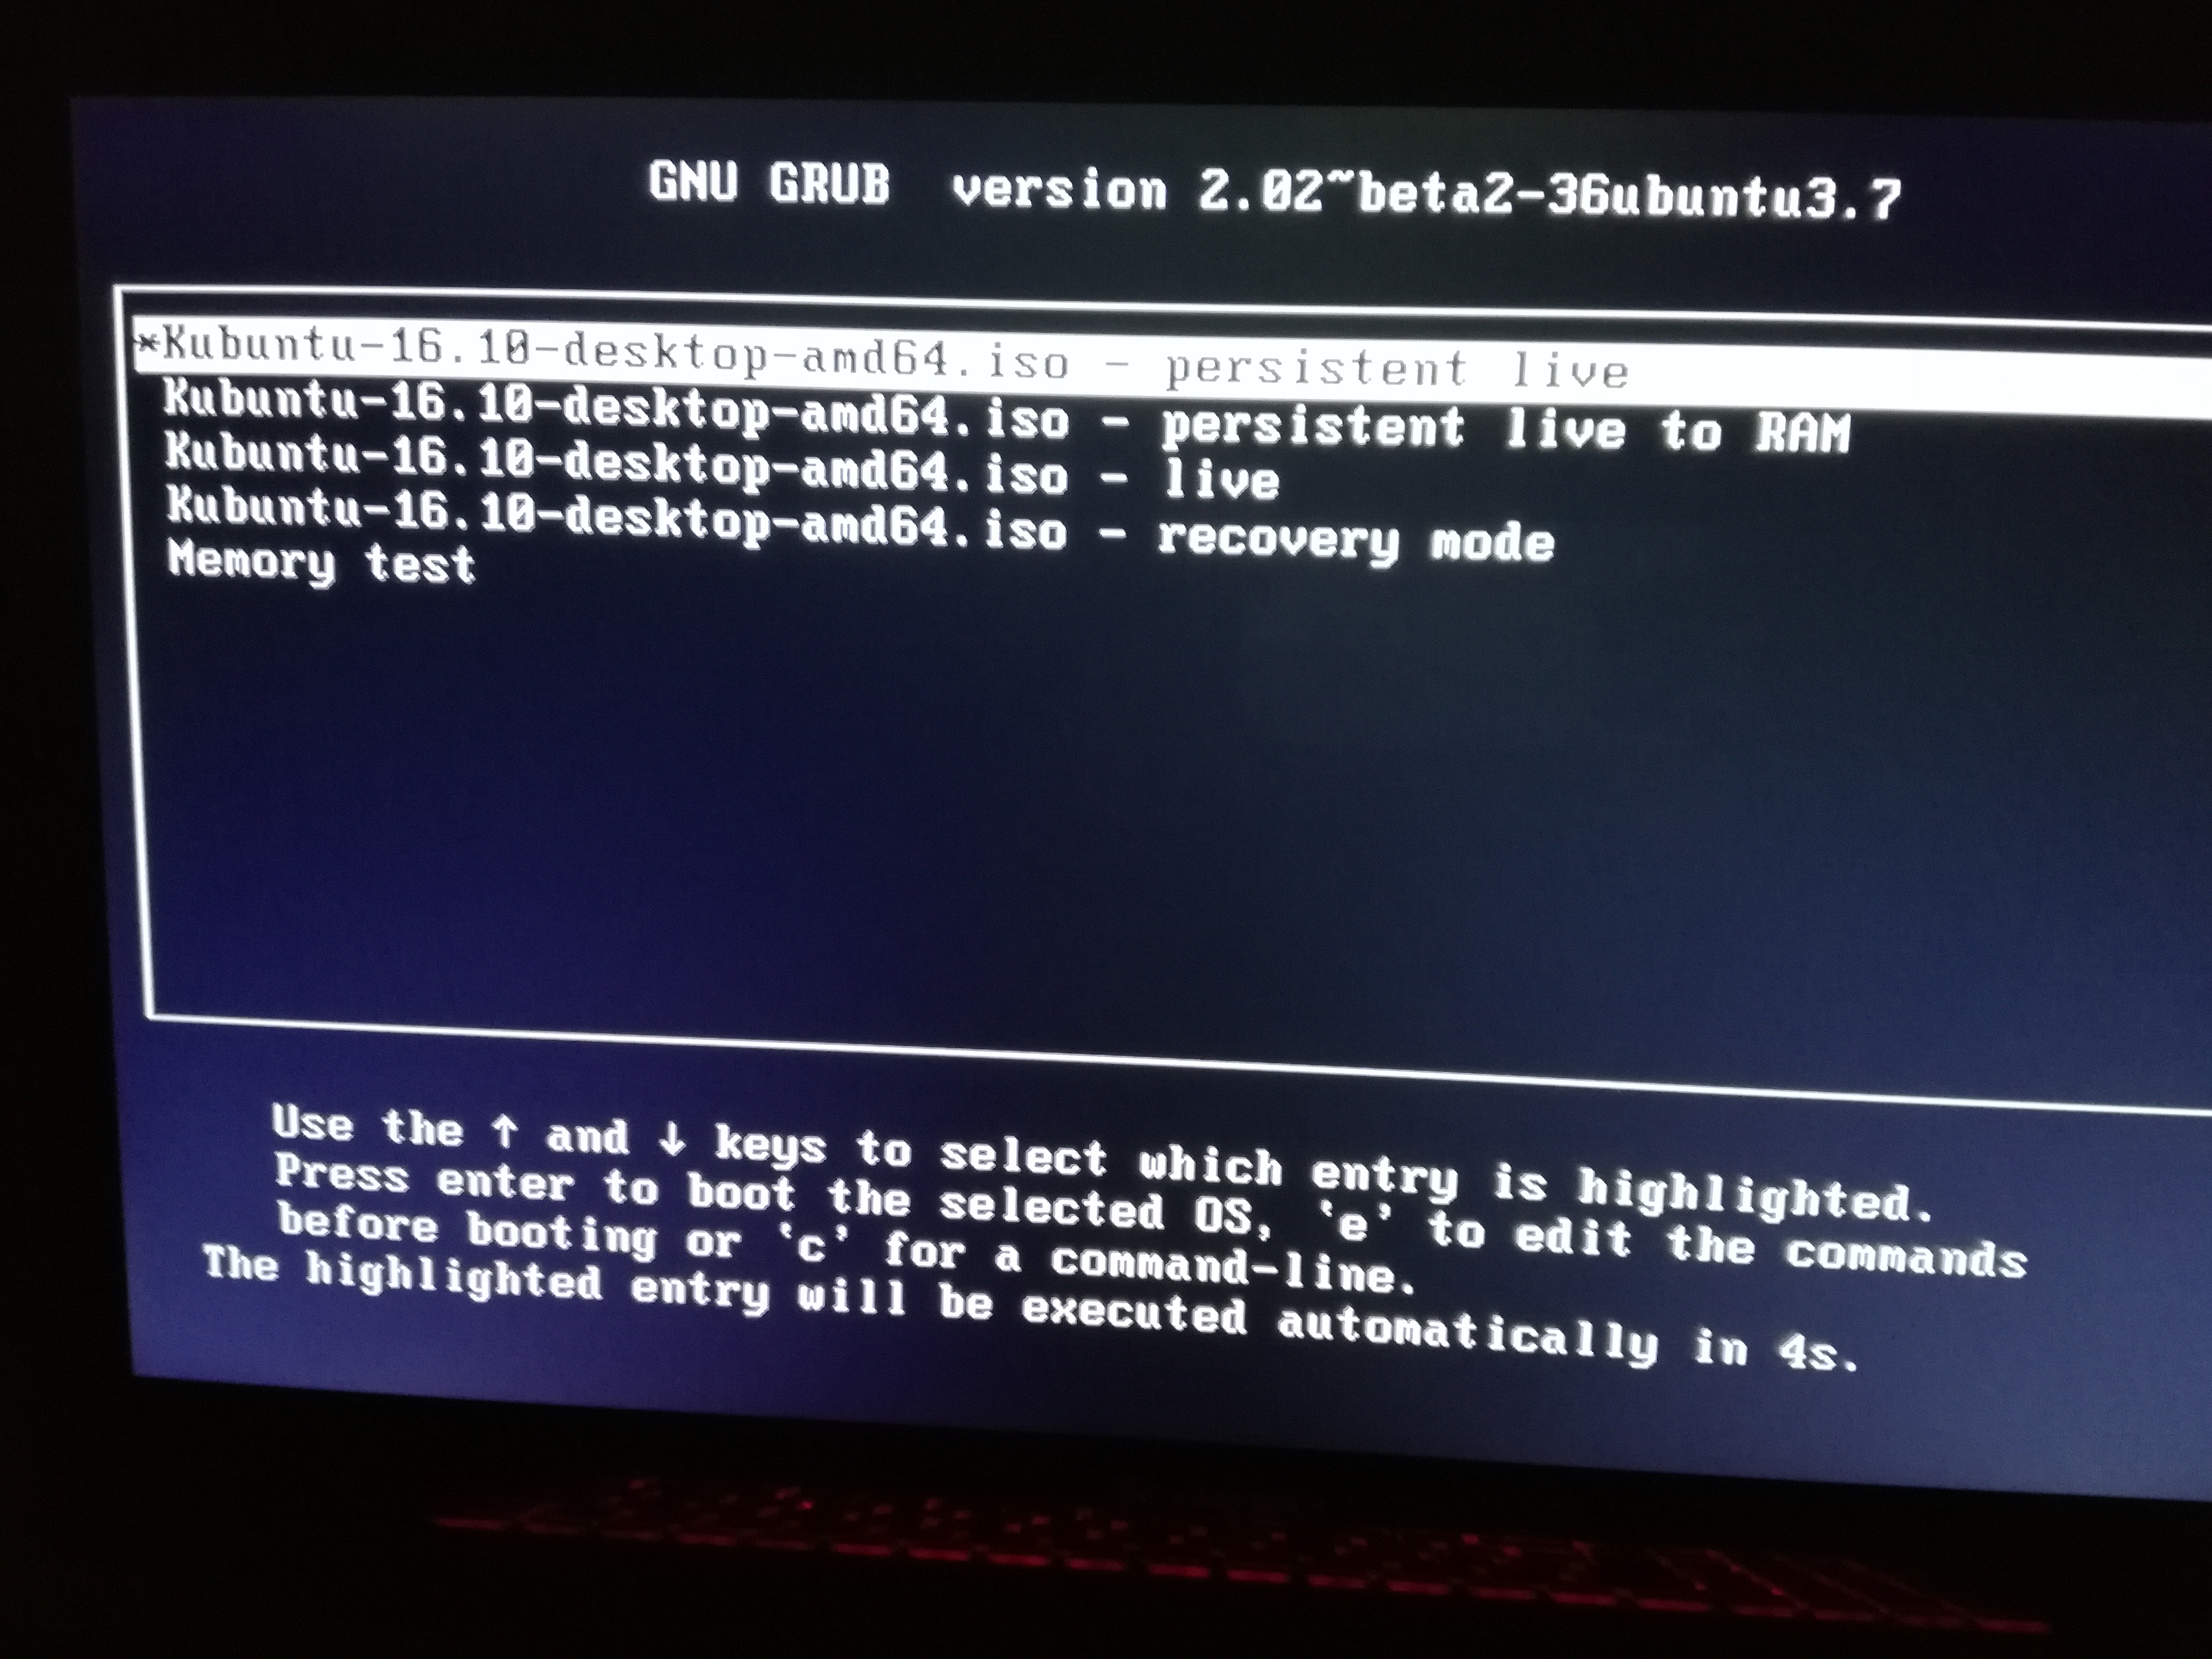 |
If you do not have this menu, double check USB boot howto instructions for your computer
Choose default Persistant live, or wait
-Drink a coffee, be patient your system is loading (3mn-till 10mn on old HW, first time)
-Wait for green spider to show up on your screen
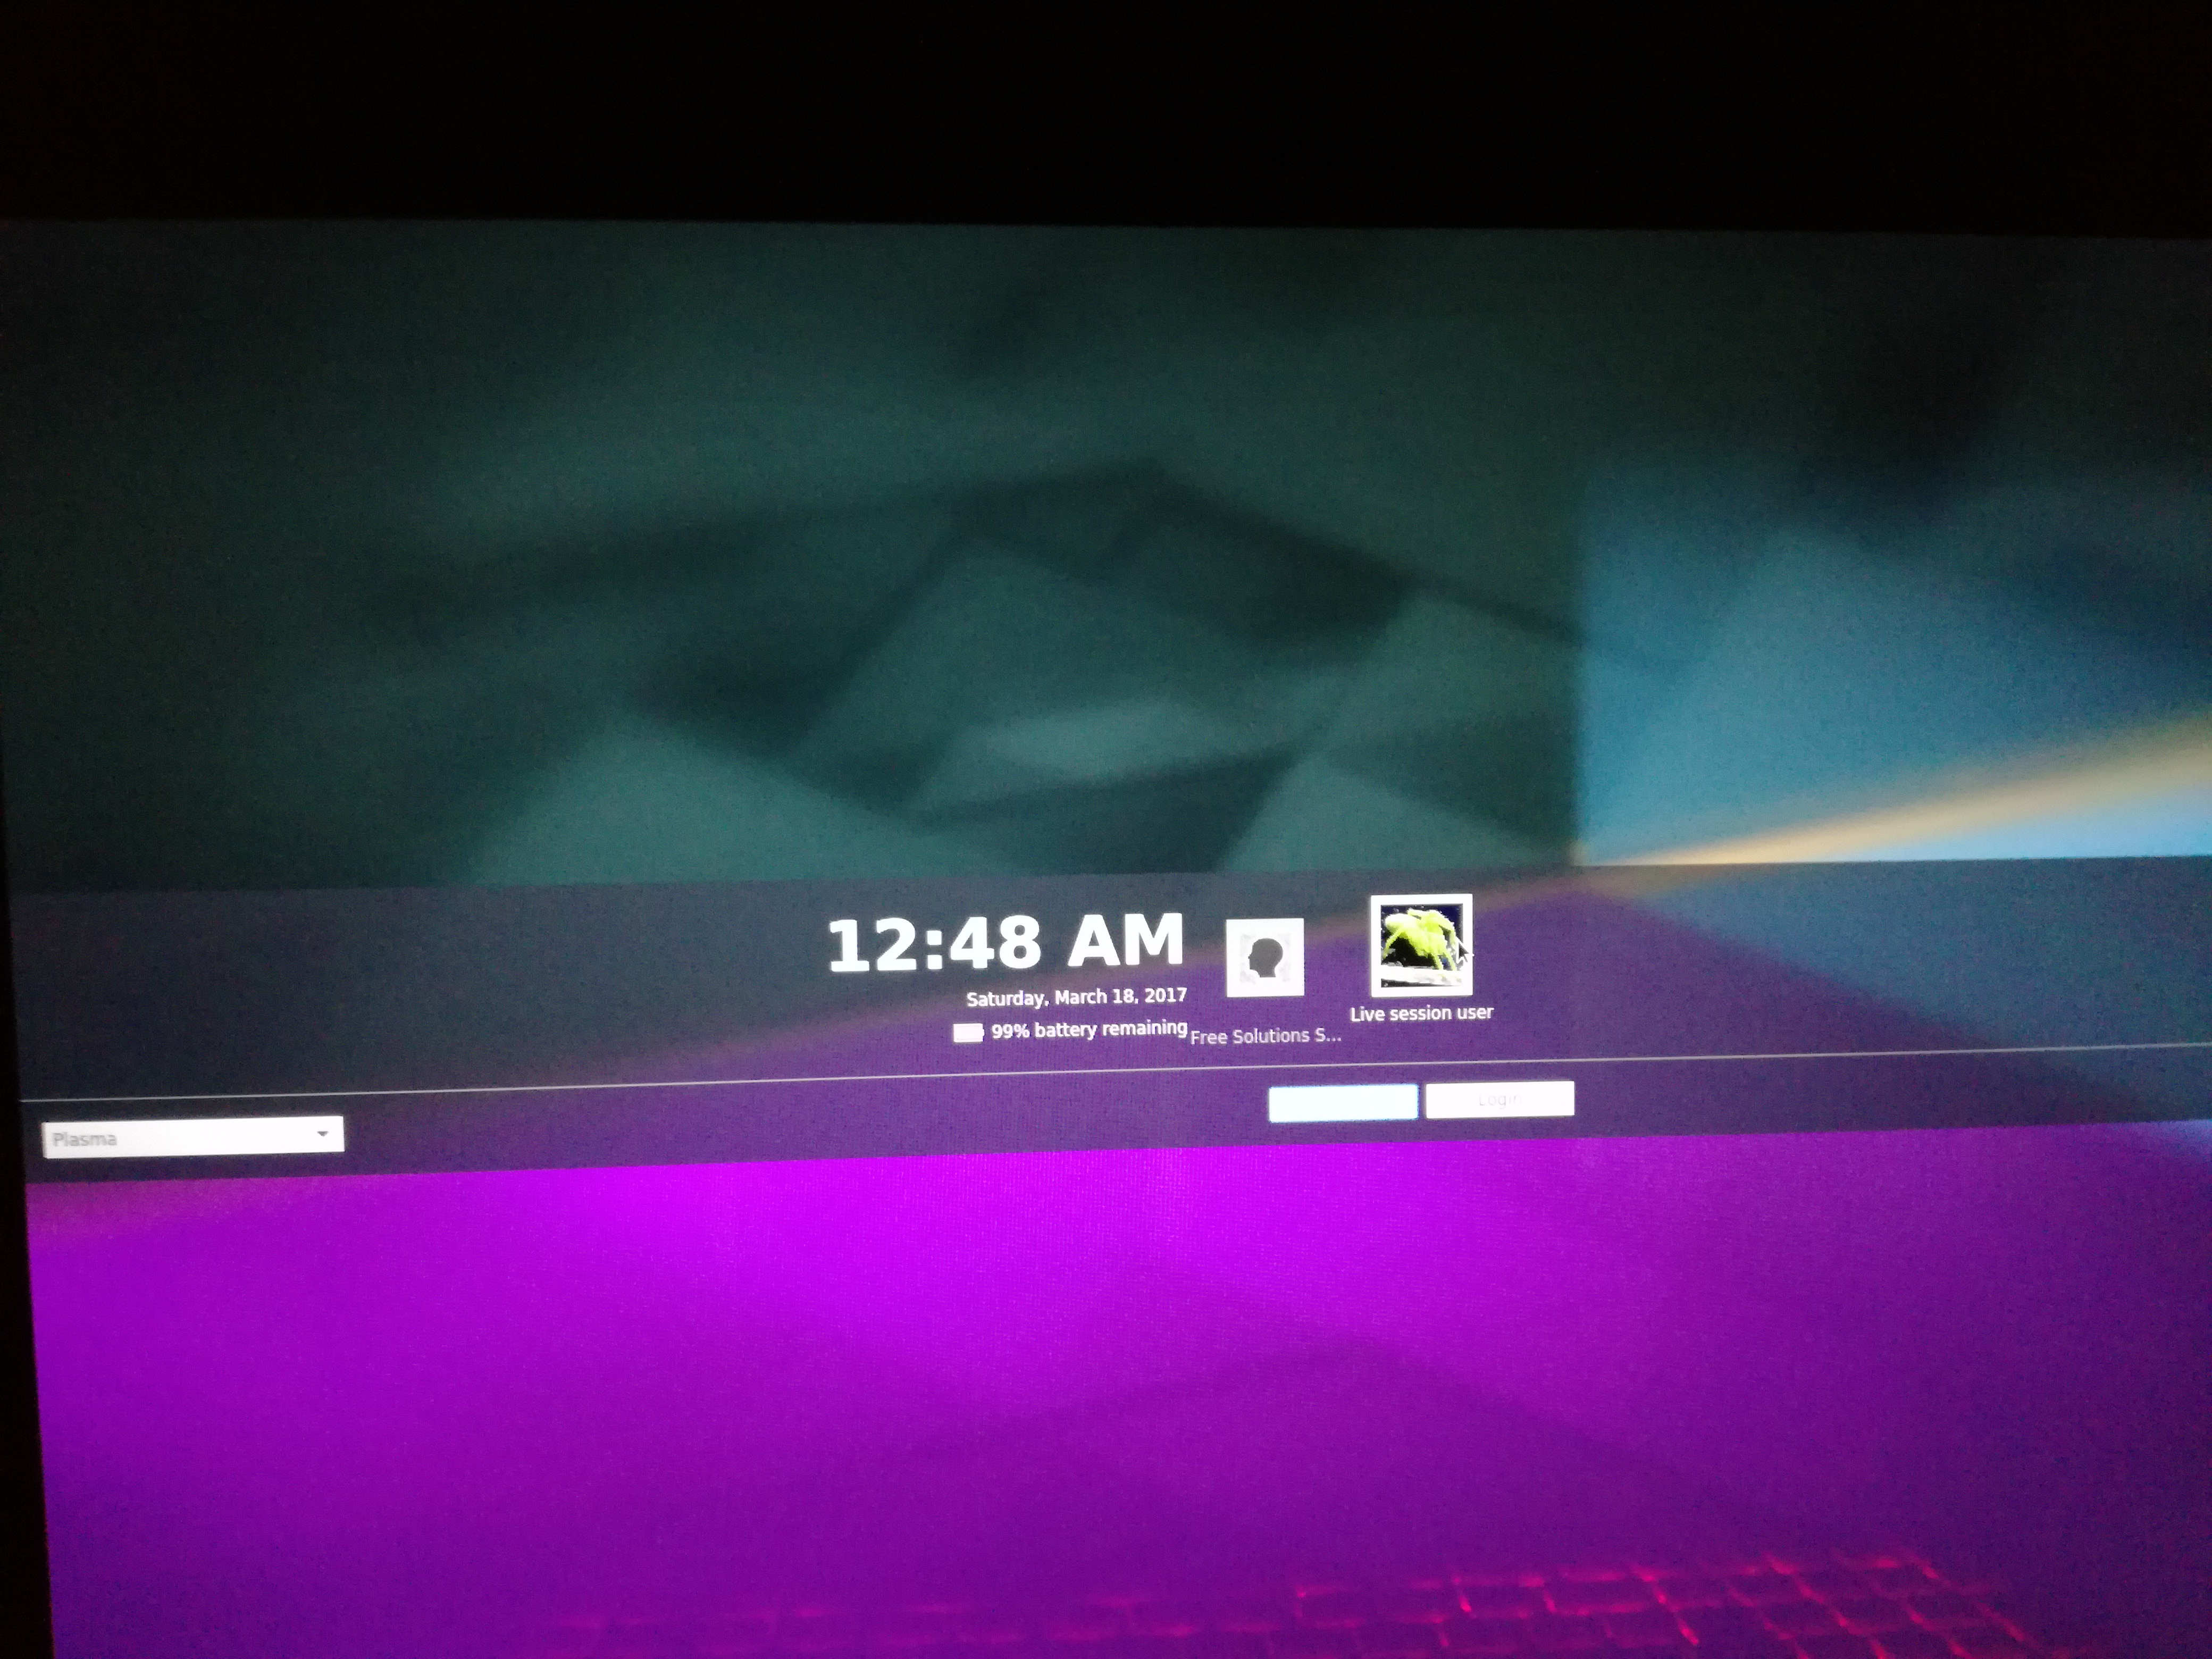
You will go through several states, Black screen at boot is normal, cursor is blinking, just wait untill You get Login Screen
After 3 to 10 min you get the login screen, be patient on old machines as
HW config is built on the fly at first boot
Login Screen :
By default, password=12345678, feel free to set a Password to lock your Key
Then
And finally you enter your session, your computer is ready to use, have fun
Maintenance :
You need to do a File Système check to correct inode and file ssytem errors
To check and correct disk errors :
-Boot "live" : 3rd option from boot menu
-Open a terminal and :
| type or cut and paste |
|---|
sudo su setxkbmap ch fsck -y /dev/sdb5 |
fsck is correcting any disk inconsistancies, needs to be done every 1-3 month
Patches :
Apply Patches , currently Patch 1 & Patch 2
Software upgrade :
Once Patch are applied, perform Software upgrades via discovery app or Open a Terminal and do :
sudo apt-get update
sudo apt-get upgrade
USB Key and instructions for each vendor
Below is a list of PC brands with their corresponding hot-keys.
| Manufacturer | Type | Models | Boot Menu | Boot Once | BIOS Key | Change Priority |
|---|---|---|---|---|---|---|
| ACER | Esc, F12, F9 | Del, F2 | ||||
| ACER | netbook | AspireOne, Aspire Timeline | F12 | F2 | ||
| ACER | netbook | Aspire v3, v5, v7 | F12 | The "F12 Boot Menu" must be enabled in BIOS. It is disabled by default. | F2 | |
| APPLE | After 2006 | Option | ||||
| ASUS | desktop | F8 | F9 | |||
| ASUS | laptop | Esc | F9 | |||
| ASUS | laptop | R503C | F8 | DEL | ||
| ASUS | netbook | Eee PC 1025c | Esc | F2 | Boot Tab, Boot Device Priority, 1st Boot Device, Removable Device, F10 | |
| COMPAQ | Presario | Esc, F9 | F10 | BIOS "Advanced Tab", Boot Order | ||
| DELL | desktop | Dimension, Inspiron, Latitude | F12 | Select "USB Flash Drive" | F2 | |
| DELL | desktop | Inspiron One 2020, 2305, 2320, 2330 All-In-One | F12 | Select "USB Flash Drive" | F2 | |
| DELL | laptop | Inspiron | F12 | Select "USB Storage Device" | F2 | Settings->General->Boot Sequence->"USB Storage Device", then up arrow, [Apply]--[Exit] |
| DELL | laptop | Precision | F12 | Select "USB Storage Device" from boot menu | F12 | |
| EMACHINES | F12 | Tab, Del | ||||
| HP | generic | Esc, F9 | Esc, F10, F1 | |||
| HP | desktop | Media Center | Esc | F10 | BIOS "Advanced" tab, Boot Order, Move "USB Device" before "Hard Drive" | |
| HP | desktop | Pavilion 23 All In One | Esc | Select boot media from the menu | F10 | BIOS "Advanced" tab, Boot Order, Move "USB Device" before "Hard Drive". For non-UEFI media, disable secure boot and enable legacy support |
| HP | desktop | Pavilion g6 and g7 | Esc | F10 | BIOS "Advanced" tab, Boot Order, Move "USB Device" before "Hard Drive" | |
| HP | desktop | Pavilion HPE PC, h8-1287c | Esc | Then F9 for "Boot Menu" | Esc F10 | Storage tab, Boot Order, Legacy Boot Sources |
| HP | desktop | Pavilion PC, p6 2317c | Esc | Then F9 for "Boot Menu" | Esc F10 | Storage tab, Boot Order, Legacy Boot Sources |
| HP | desktop | Pavilion PC, p7 1297cb | Esc | Then F9 for "Boot Menu" | Esc F10 | Storage tab, Boot Order, Legacy Boot Sources |
| HP | desktop | TouchSmart 520 PC | Esc | Then F9 for "Boot Menu" | Esc F10 | Storage tab, Boot Order, Legacy Boot Sources |
| HP | laptop | 2000 | Esc | Select "Patriot Memory" on the Boot Option Menu | Esc | |
| HP | notebook | Pavilion | Esc | F10 | BIOS "Advanced" tab, Boot Order, Move "USB Device" before "Hard Drive" | |
| HP | notebook | ENVY dv6 and dv7 PC | Esc | Then F9 for "Boot Menu" | Esc | F10 Storage tab, Boot Order, Legacy Boot Sources |
| INTEL | F10 | |||||
| LENOVO | desktop | F12, F8, F10 | F1, F2 | |||
| LENOVO | laptop | F12 | F1, F2 | |||
| LENOVO | laptop | IdeaPad P500 | F12 or Fn + F11 | F2 | ||
| NEC | F5 | F2 | ||||
| PACKARD BELL | F8 | F1, Del | ||||
| SAMSUNG | F12, Esc | |||||
| SAMSUNG | netbook | NC10 | Esc | F2 | Boot Tab, Select "Boot Device Priority", Press Return, Up/Down to Highlight, F6/F5 to change priority | |
| SAMSUNG | ultrabook | Series 5 Ultra and Series 7 Chronos | Esc | F2 | Boot Tab, Select "Boot Device Priority", Press Return, Up/Down to Highlight, F6/F5 to change priority | |
| SHARP | F2 | |||||
| SONY | VAIO, PCG, VGN | F11 | F1, F2, F3 | |||
| SONY | VGN Esc | F10 | F2 | BIOS "BOOT" section, "External Device Boot" enabled | ||
| TOSHIBA | Protege, Satellite, Tecra | F12 | F1, Esc | |||
| TOSHIBA | Equium F12 | F12 | F12 |
Hardware requirements :
Works on most PC Hardware less than 10y old. Works also on most Mac hardware.
Limitations : WIFI support for some Apple Hardware
Il n'y a aucun commentaire sur ce document